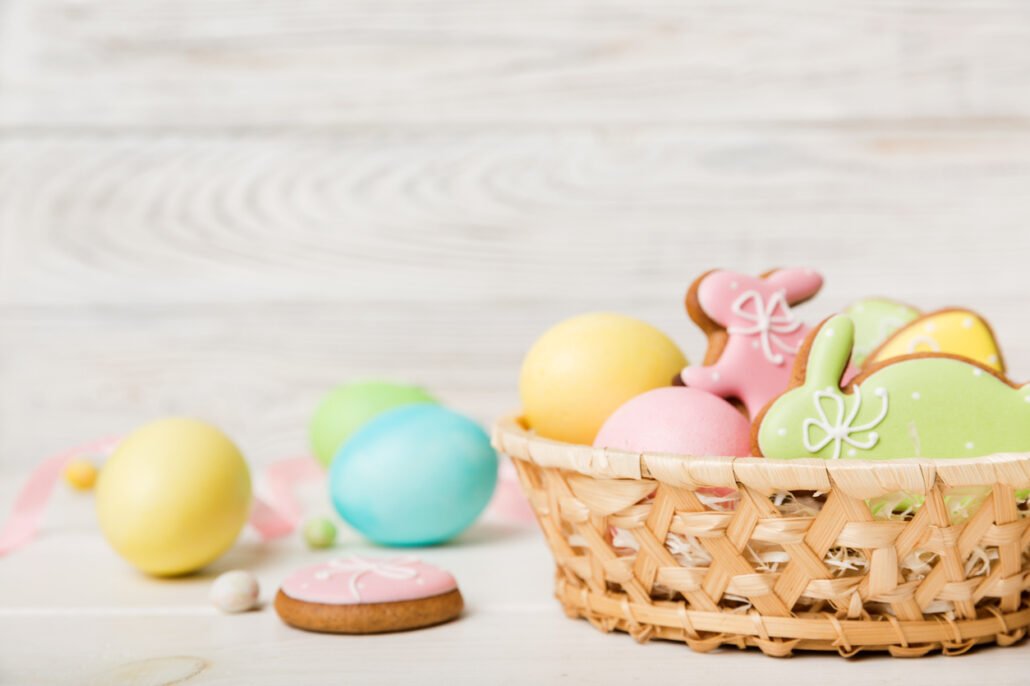
Easter is quickly approaching, and what better way to celebrate the season than filling your home with the sweet aroma of freshly baked treats?
I have selected a few of my favourite Easter-worthy recipes from Movers & Bakers, The Baking Explorer, and The Little Blog of Vegan for you to try this year!
Get your apron ready, preheat those ovens, and let’s bake these Easter treats!
Mini Egg Cupcakes
INGREDIENTS
For the cupcakes
- 125 g (½ cup + 1 tbsp) unsalted butter, softened
- 100 g (½ cup + 2 tbsp) self-raising flour
- 25 g (3 tbsp + 2 tsp) cocoa powder
- 125 g (½ cup + 2 tbsp) caster sugar
- 0.5 tsp baking powder
- 2 large eggs
- 1 tsp coffee granules dissolved in 1 tbsp boiling water (see notes)
For the buttercream and decoration
- 200 g (¾ cup + 2 tbsp) unsalted butter
- 400 g (2 ¾ cups) icing (powdered) sugar, sifted
- 1 tsp vanilla
- 2-3 tbsp milk
- 3 x food colouring in mini egg colours (e.g. pink, purple and yellow)
- 36 mini eggs, to decorate
METHOD
For the cupcakes
Step 1: Line your cupcake tin with cupcake cases and set it aside. Preheat your oven to 160C/325F while you make your cupcake batter.
Step 2: In a large bowl, or the bowl of your stand mixer, tip in your butter and beat until softened and fluffy. Sift in the flour, cocoa powder, caster sugar and baking powder and add in the eggs. Beat your mixture until it has come together and is smooth. Scrape the bowl down, then add in the coffee mixture and beat on low to incorporate it well. One final scrape down, then turn the speed up to high and beat for one minute. Your mixture will turn slightly lighter and be wonderfully smooth.
Step 3: Spoon or scoop your cupcake batter evenly into your prepared cases, making sure not to fill over ⅔ full. Pop your cupcakes in the oven and bake for 22-25 minutes until springy to touch and a toothpick or wooden skewer comes out clean. Remove the cupcakes from the oven and leave to cool completely before decorating.
For the buttercream
Step 1: First, beat your butter until really pale and soft. This should take around 5 minutes. Add in your icing sugar, then mix slowly to avoid a sugar cloud. Add in your vanilla and as much milk as you need to make it a smooth, spreadable mixture, then beat on high for a couple of minutes until fluffy and beautiful. Do scrape your bowl down occasionally, so you incorporate anything that might have not been mixed through properly.
Step 2: Once your buttercream is made, but before you colour it, use your spatula to mix and press your buttercream around your mixing bowl for about a minute or so. This smooths out your buttercream, pushing out air bubbles, and giving you a silky buttercream to work with for your final step. This step is optional, of course, but worth doing to avoid the air bubbles!
Step 3: Split your buttercream into three bowls, then colour each a different colour. Once you’ve mixed all your colours in evenly, it’s time to place your buttercream into your piping bag. First, lay out a layer of cling film on your work surface. Place rows of each of your colours lengthways along the middle of your cling film, right next to each other. Now roll up your cling film around the buttercream, creating a larger striped buttercream “log” and twist both ends to hold it together. Snip one end open, pop it in your piping bag already fitted with your nozzle, and twist the top. And you’re ready to pipe!
Step 4: When your cupcakes are completely cool, pipe a swirl over each cupcake, then crown each cupcake with three mini eggs. If you want to create a ruffle effect, hold your piping bag upright against your cupcake and twist from left to right as you squeeze the buttercream out, lifting the piping bag as you go. Top with three mini eggs and you’re done! Enjoy!
For a detailed Mini Egg Cupcake recipe, visit the Movers & Bakers blog.
Carrot Cake Cookies
INGREDIENTS
For the cookies
- 125 g Butter softened, unsalted
- 200 g Light brown soft sugar
- 1 Orange zest only
- 1 Egg large
- 1 tsp Vanilla extract
- 85 g Carrot grated
- 125 g Plain flour
- 125 g Wholemeal plain flour or regular plain/all-purpose flour
- ½ tsp Baking powder
- ¼ tsp Bicarbonate of soda
- ¼ tsp Salt
- 1 ½ tsp Cinnamon
- 1 tsp Mixed spice
- ¼ tsp Nutmeg
- 150 g Pecans chopped finely
For decoration (optional)
- 75 g White chocolate
- 12 Fondant carrots
METHOD
Step 1: Pre-heat your oven to 180C Fan/400F/Gas Mark 6, and line a few baking trays (or however many you own) with baking paper.
Step 2: Ideally using a stand mixer with the paddle attachment, mix the butter and light brown soft sugar until fluffy and paler in colour. This will take 3-5 minutes in an electric mixer.
Step 3: Add the orange zest, egg and vanilla extract, and mix them in.
Step 4: Add the grated carrot, plain flour, wholemeal plain flour, cinnamon, mixed spice, nutmeg, baking powder, bicarbonate of soda and salt (you can mix everything except the grated carrot in a separate bowl first if you like) and mix them in until just combined.
Step 5: Add the pecans and mix briefly, just to evenly distribute them.
Step 6: Divide the dough into portions.
Step 7: Roll the dough portions into balls using your hands, place the dough balls onto the lined baking trays, leaving space (at least 2″) between them to spread. If you don’t have enough baking trays, bake the cookies in batches.
Step 8: Bake for 12-14 minutes, remove from the oven and leave the cookies to cool for at least 10 minutes on the baking trays before moving them to a cooling rack.
Step 9: Once the cookies are fully cool drizzle the white chocolate over them, then add the fondant carrots.
Step 10: Leave the chocolate to set before tucking in!
Step 11: Store in an airtight container and eat within 3 days. They also can be frozen.
For a detailed Carrot Cake Cookies recipe, visit The Baking Explorer blog.
Vegan Easter Madeleines
INGREDIENTS
- 120g of all-purpose/plain flour
- 1 teaspoon of baking powder
- 70g of caster sugar
- 120ml of dairy-free milk (I use unsweetened soya)
- 40ml of sunflower oil
- 1 teaspoon of apple cider vinegar
- 1 teaspoon of vanilla extract
- 300g of dairy-free white chocolate
- Pink food gel
- Black food gel
METHOD (sponge)
Step 1: Preheat the oven to 180°C fan and grease a madeleine pan/tin with some dairy-free butter, making sure to get into the shell ‘grooves’.
Step 2: In a medium-sized mixing bowl, combine the flour, baking powder and sugar. Whisk to combine.
Step 3: In a separate bowl whisk together the dairy-free milk, oil, vinegar and vanilla. Pour the wet into the dry and fold together to combine. Mix until there isn’t any flour showing, then stop.
Step 4: You can either transfer the batter into a piping bag, snip off the tip and pipe in the moulds or simply use a small spoon. Spoon/pipe the mixture into each madeleine shell. TIP: Don’t fill them full as they will rise when baking.
Step 5: Place into the middle of the oven and bake for 10-12 minutes. Check after 10 to see how well they’re baking, they may need a few more minutes in the oven. Keep an eye on them to prevent them from burning. You’ll know they’re ready when they’re golden brown in colour and a toothpick/skewer inserted down the centre comes out clean. Remove from the oven, and allow to cool. As the tin was greased, the madeleines should slip right off the tin. Place on a wire rack.
Step 6: Clean the madeleine tin with a paper towel to remove any excess sponge or grease. Place into the freezer to prepare for the chocolate coating.
METHOD (chocolate)
Step 1: Fill a small saucepan 1/4 full with water and place on the hob over medium heat. Into a heatproof bowl, add the dairy-free white chocolate and place over the pan. This creates a bain-marie. Allow the chocolate to melt, stirring with a heat-proof spatula. Remove from the heat.
Step 2: Transfer 2-3 tablespoons of the melted white chocolate into a piping bag and snip off the tip.
Step 3: Pipe bunny shapes into the madeleine mould. Place back into the freezer to set. You want the bunny design/shape to set before pouring on the coloured chocolate or it could mix, and you won’t see a visible shape.
Step 4: Colour the remaining chocolate with the pink food gel.
Step 5: Spoon 1/2 tablespoon amount of the pink chocolate into each madeleine mould, over the white bunny shape.
Step 6: Press a madeleine sponge on top whilst the chocolate is still loose, pressing down enough so that the chocolate coats the madeleine. Place into the fridge to set. This will take about half an hour.
Step 7: Save some of the pink chocolate for the ears and nose. Place this into a piping bag and snip off a small tip.
Step 8: Colour the left-over chocolate with black food gel, transfer it into a piping bag and snip off a small tip.
Step 9: Remove the madeleines from the tin, and pipe on two black dots for the bunny eyes and the pink nose and bunny ears.
Step 10: Serve and enjoy!
For a detailed Vegan Easter Madeleines recipe, visit The Little Blog of Vegan.
Happy baking, and may your Easter be as sweet as the treats you’ve created!
Fancy more foodie content? Check out Escapade’s blog posts on The Perfect Picnic Setup or TikTok Fakeaway Recipes!
In need of a consumer PR agency? Please get in touch by visiting our Contact page, we would love to hear from you!
Sources
https://moversandbakers.co.uk/chocolate-mini-egg-cupcakes-recipe
https://thebakingexplorer.com/carrot-cake-cookies/
https://www.thelittleblogofvegan.com/2024/02/vegan-easter-madeleines.html
Blog Cover Photo: Mykola Sosiukin/istockphoto.com